| 4.0 Word Processing Package | ||
|
4.10.5 Creating an
AutoText Entry You can create your own AutoText entries. This is
useful if you often use the same large or complex item and don't want to have
to reinsert or retype it, or if you want to store text that contains a
particular style or format. For example, if you send customers a monthly report
that always includes the same lengthy disclaimer, you can create an AutoText
entry for the disclaimer. When you create an AutoText entry, it's
automatically linked to the paragraph style of the text or graphic you used to
create the entry. This style is what Word uses to determine which submenu the
new AutoText entry appears in on the AutoText submenu (Insert menu). For
example, if your report's disclaimer has the Normal style, Word links the
AutoText entry to the Normal style. When you later want to insert the entry,
you'll find the entry on the Normal submenu (Insert menu, AutoText submenu). So
let’s enter our own AutoText now: -
4.10.6 Using AutoText to Insert Text
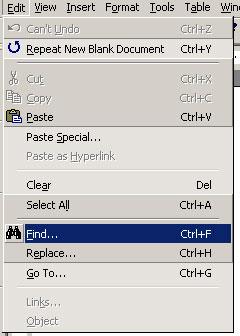
Type a few characters of the text you have just entered as AutoText. Word will display the whole word or phrase in a caption. Press Enter the insert the specific text in your document. In case the text displayed by Word is not the one you want then go on with some more characters and word will show you the next option. 4.10.7 Finding and replacing Special Character
4.11.1 Adding borders and
shading
You can use shading to fill in the background of a
table, a paragraph, or selected text. 4.11.1.1 Adding a Border Add a border to a page in a document
Add a border to text
To add a border to a paragraph, click anywhere in the paragraph. To add
a border only to specific text, select the text. On the Format menu, click Borders and Shading, and then click the
Borders tab. Select the options you want, and make sure the correct option —
Paragraph or Text — is selected under Apply to. For Help on an option, click the question mark
To specify that only particular sides get borders, click Custom under
Setting. Under Preview, click the diagram's sides, or use the buttons to apply
and remove borders. To specify the exact position of the border relative to the text, click Paragraph under Apply to, click Options, and then select the options you want. | ||||

|
Copyright © 2001 Selfonline-Education. All rights reserved. |
||
| |
||